How To Master Https://create.roblox.com Dashboard Creations: A Comprehensive Guide For Beginners And Pros
Alright, listen up, folks. If you're reading this, chances are you're diving headfirst into the world of Roblox game development. You might be wondering how to master the https://create.roblox.com dashboard creations experience. Well, let me tell you, it’s not just about clicking buttons or dragging blocks. It’s about understanding the ins and outs of this powerful platform. In this guide, we’ll break it down step by step so you can turn your creative dreams into reality.
Whether you’re a complete noob or a seasoned pro looking to refine your skills, this article is your ultimate roadmap. We’ll cover everything from setting up your account to publishing your masterpiece. And trust me, by the time you finish reading, you’ll feel like a Roblox wizard. So grab a snack, sit back, and let’s get started.
This journey won’t just be about learning the basics. We’ll dive deep into the nitty-gritty details of the Roblox Create dashboard. From understanding the user interface to optimizing your creations for maximum engagement, we’ve got you covered. Let’s make your Roblox dreams come true, one step at a time.
- Hudhub4u Your Ultimate Guide To Understanding Benefits And Opportunities
- Hdhub4u In 2024 Your Ultimate Guide To The Streaming World
Now, let’s jump into the meat of the matter. Here’s a quick roadmap of what we’ll cover:
- Understanding the Roblox Create dashboard
- Setting up your first project
- Designing and customizing your game
- Adding scripts and plugins
- Testing and publishing your creation
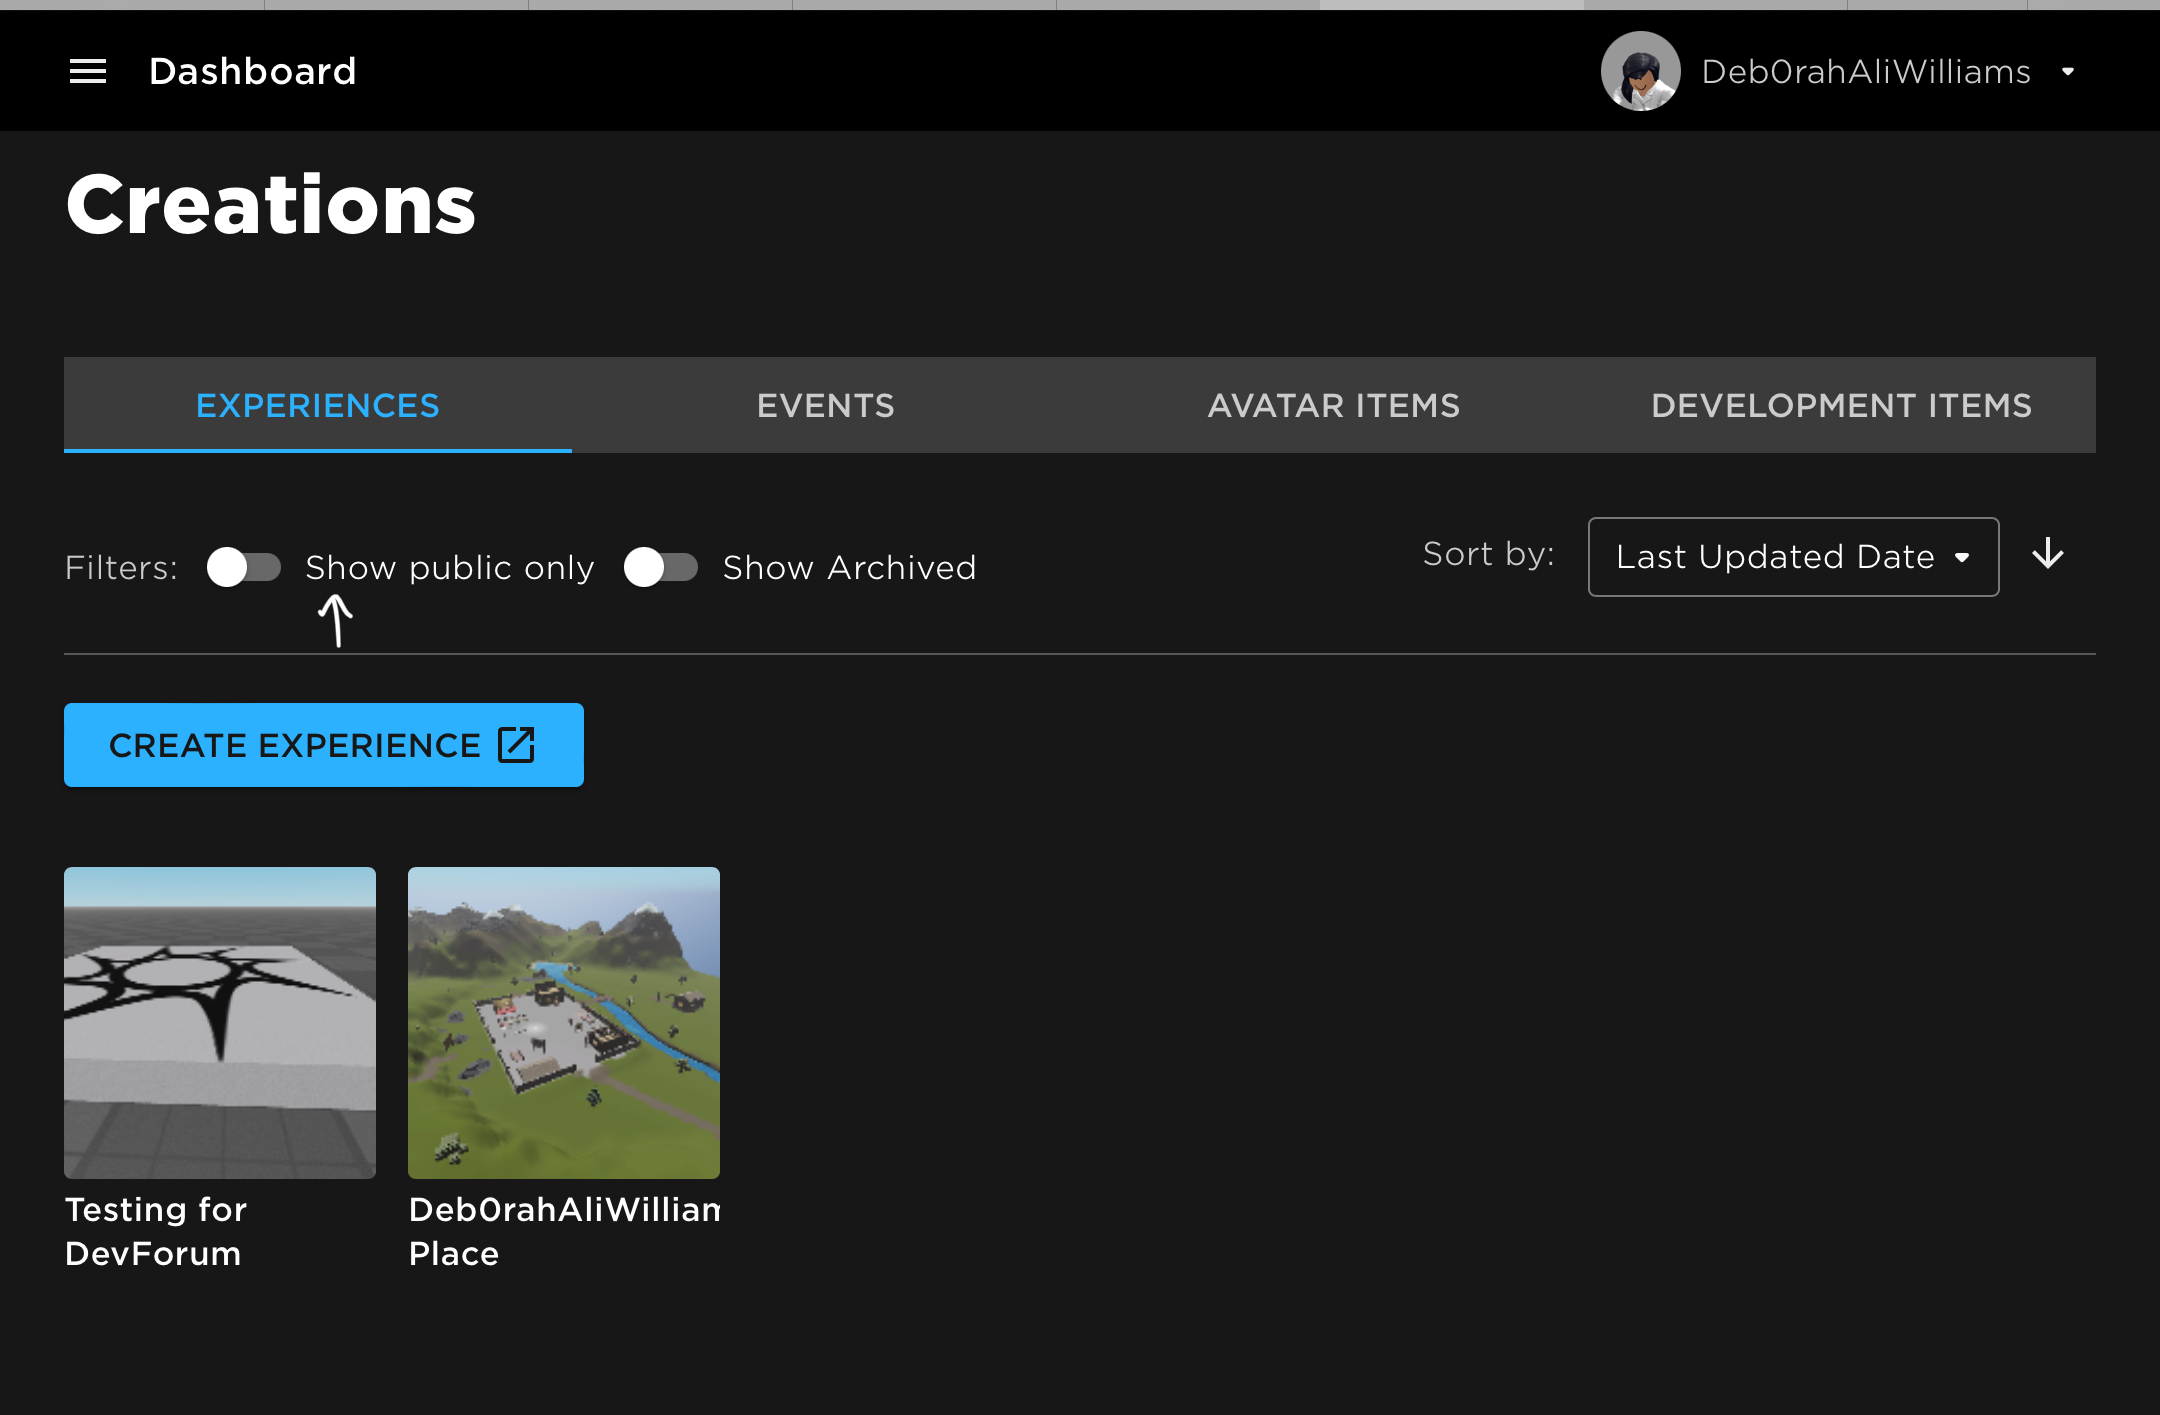
Getting to Know the Roblox Create Dashboard
What is the Roblox Create Dashboard?
First things first, the Roblox Create dashboard is your one-stop shop for all things game development. It’s like the command center where you’ll design, build, and test your games. Think of it as your personal playground, but with more buttons and sliders. The interface might seem overwhelming at first, but don’t worry—we’ll break it down piece by piece.
When you log in to https://create.roblox.com, you’ll be greeted by a clean, organized layout. On the left-hand side, you’ll find your project list. On the right, you’ll see various tools and settings to help you customize your game. In the center, there’s the main workspace where all the magic happens. It’s like a blank canvas waiting for your creative touch.
- Jade Castrinos The Rising Star Taking The World By Storm
- David Boreanaz The Man Behind The Screen And The Heart Of Tv Magic
Key Features of the Dashboard
Let’s take a closer look at some of the key features you’ll encounter:
- Project Manager: This is where you’ll create, edit, and manage your games.
- Asset Library: A treasure trove of pre-made models, textures, and sounds to spice up your game.
- Analytics: Track player activity, engagement, and earnings in real-time.
- Community Tools: Collaborate with other developers and share resources.
These features are designed to make your life easier and help you focus on what matters most—creating awesome games. And trust me, once you get the hang of it, you’ll wonder how you ever lived without them.
Setting Up Your First Project
Creating a New Game
Alright, let’s get our hands dirty. The first step in mastering the https://create.roblox.com dashboard creations experience is creating your first game. It’s super easy, I promise. Just click the “Create” button on the dashboard, and you’ll be taken to the project setup screen.
Here, you’ll need to choose a template for your game. Roblox offers a variety of pre-made templates to help you get started quickly. Whether you want to build a racing game, a role-playing adventure, or a simple platformer, there’s a template for that. Once you’ve selected your template, give your game a name and hit “Create.” Boom, you’re in business.
Customizing Your Game Settings
Now that you’ve created your game, it’s time to customize the settings. This is where you’ll define the rules of your game, set up the environment, and configure player permissions. Don’t worry if it sounds complicated—it’s actually pretty straightforward.
Some key settings to consider include:
- Game Mode: Choose between casual, competitive, or cooperative modes.
- Player Limits: Decide how many players can join your game at once.
- Environment: Customize the weather, lighting, and terrain to fit your game’s theme.
These settings will shape the overall experience of your game, so take your time to get them just right. Remember, you can always tweak them later if needed.
Designing and Customizing Your Game
Building Your World
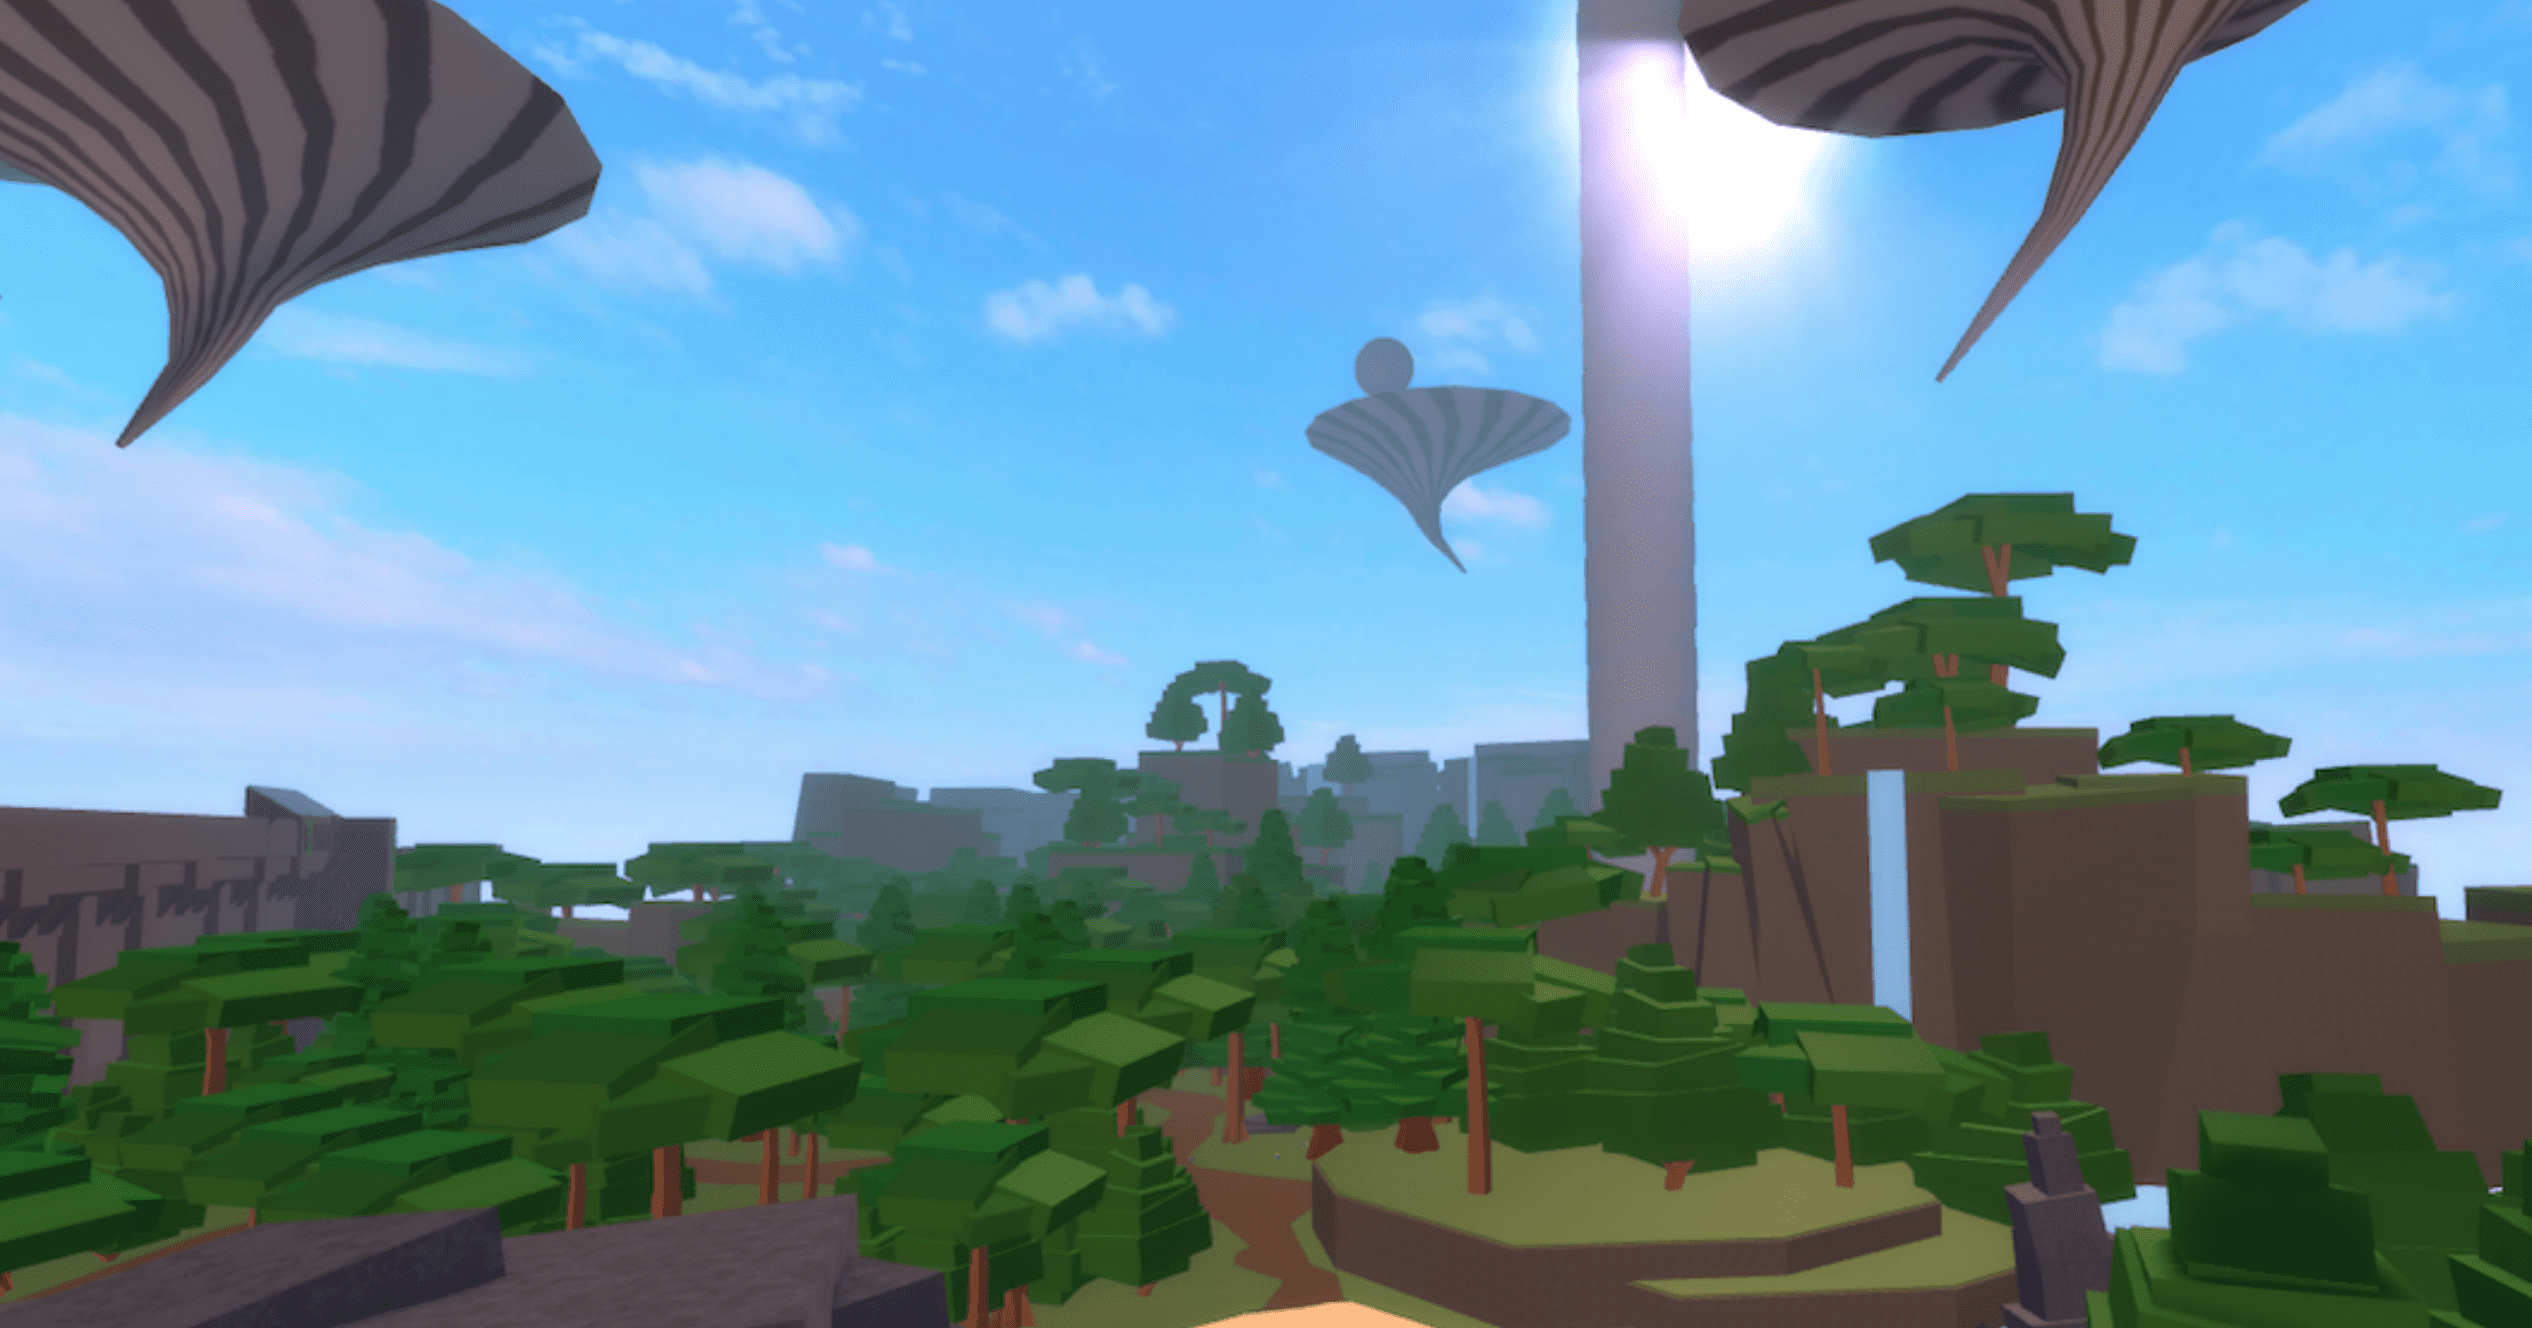
Now that your game is set up, it’s time to start building your world. This is where the real fun begins. Using the Roblox Studio editor, you can create and customize every aspect of your game. From designing the terrain to placing objects and NPCs, the possibilities are endless.
One of the coolest features of the Roblox Create dashboard is the ability to import custom assets. Whether you’ve created your own models in Blender or downloaded them from the Asset Library, you can easily integrate them into your game. Just drag and drop, and you’re good to go.
Adding the Final Touches
Once your world is built, it’s time to add the final touches. This is where you’ll focus on details like lighting, sound effects, and UI design. These small details can make a big difference in the overall feel of your game.
For example, adding ambient music can create a more immersive experience for players. Or, designing an intuitive UI can make your game easier to navigate. Don’t be afraid to experiment and try new things. After all, that’s what makes game development so exciting.
Adding Scripts and Plugins
Why Scripts Are Important
If you want to take your game to the next level, scripts are the way to go. Scripts allow you to add interactivity and functionality to your game. For example, you can use scripts to create custom game mechanics, control NPCs, or manage player interactions.
Now, I know what you’re thinking—“But I don’t know how to code!” Don’t worry, Roblox has you covered. The platform uses Lua, a simple and easy-to-learn programming language. There are tons of tutorials and resources available to help you get started. And trust me, once you learn the basics, you’ll be unstoppable.
Exploring Plugins
In addition to scripts, plugins are another powerful tool in your arsenal. Plugins are pre-built tools that can enhance your development workflow. For example, there are plugins for terrain editing, animation creation, and more.
To use a plugin, simply download it from the Asset Library and activate it in your project. It’s that easy. And the best part? Many plugins are free, so you can experiment without breaking the bank.
Testing and Publishing Your Creation
Testing Your Game
Before you hit the publish button, it’s crucial to test your game thoroughly. This is where you’ll catch any bugs or glitches and make sure everything works as intended. Roblox Studio has a built-in testing mode that allows you to play your game in real-time.
As you test, keep an eye out for common issues like lag, broken mechanics, or confusing UI elements. Make a list of everything you want to fix, and tackle them one by one. Remember, testing is an ongoing process, so don’t be afraid to make changes as you go.
Publishing Your Game
Finally, the moment you’ve been waiting for—it’s time to publish your game. Once you’re happy with the results, head back to the https://create.roblox.com dashboard and select “Publish.” From there, you’ll need to fill out some basic info, like a description and thumbnail image.
And just like that, your game is live! Now it’s time to sit back and watch the players roll in. But remember, this is just the beginning. Keep updating your game with new features and content to keep your audience engaged.
Optimizing Your Game for Success
Understanding Player Analytics
Once your game is live, it’s important to track its performance. This is where the analytics tools in the Roblox Create dashboard come in handy. You can monitor metrics like player retention, session length, and revenue generation.
Use this data to identify areas for improvement. For example, if you notice that players are dropping off after a certain point, it might be time to reevaluate that section of your game. Analytics can be a powerful tool for making data-driven decisions.
Engaging Your Community
Building a successful game isn’t just about coding and design—it’s also about community engagement. Encourage players to leave feedback, join your forums, or follow your social media channels. The more connected your audience feels, the more likely they are to stick around.
And don’t forget to reward your most loyal players. Whether it’s through exclusive in-game items or shoutouts on your socials, showing appreciation goes a long way.
Conclusion
Well, folks, that’s a wrap. By now, you should have a solid understanding of how to master the https://create.roblox.com dashboard creations experience. From setting up your first project to publishing your masterpiece, we’ve covered it all. Remember, the key to success is practice, patience, and perseverance.
So what are you waiting for? Grab that mouse, fire up Roblox Studio, and start creating. And when you’re done, be sure to share your game with the world. Who knows? Your next creation might just be the next big hit on Roblox.
Before you go, don’t forget to drop a comment and let us know what you think. And if you found this guide helpful, feel free to share it with your friends. Until next time, happy gaming!
- Movies Rulz Why Watching Films Is The Ultimate Escape
- Aaron Carter And Diddy A Deep Dive Into Their Connection And Impact
Creations Dashboard page being slightly broken Platform Usage Support
Скачать картинку CREATE ROBLOX DASHBOARD CREATIONS №57
Create roblox dashboard creations
